-
Overview
-
Q & A
-
Practical sheets
-
-
- Aucun article
-
-
- Aucun article
-
-
-
- Backup : Agent-Level B&R via NSS for IAAS offer
- Backup : Create VCOD Backup
- Backup : Netbackup Agent Installation for Linux
- Backup : Netbackup Agent Installation for Windows
- Backup : Overall Design for VCOD Offer
- Backup : User's Guide for VCOD Offer
- NSX-T : Configuring a Distributed Firewall
- NSX-T : Create VPN Ipsec
- NSX-T : Creation of T1
- NSX-T : DNAT configuration
- NSX-T : How to configure a Gateway Firewall
- NSX-T : SNAT configuration
- NSX-T: Create and Configure a Geneve Overlay Segment
- NSX-T: How to configure an IPSEC solution
- vCenter : Clone a VM
- VCenter : Create a new VM
- VCenter : Create a snapshot of a VM
- VCenter : Reset cloudadmin password
- VCenter : Storage Vmotion on a VM
- VCenter : Upgrade Vmware tools on a VM
-
-
Services
-
-
- Aucun article
-
- Aucun article
-
- Aucun article
-
- Aucun article
-
- Aucun article
-
- Aucun article
-
- Aucun article
-
-
-
- Aucun article
-
- Aucun article
-
- Aucun article
-
-
- Aucun article
-
- Aucun article
-
-
Libraries / Catalogs [FR]
Overview
The organization administrator can access:
- public catalogs
- private catalogs belonging to their organization
Catalogs can contain:
- vApp templates
- installation media (ISO image)
Public catalogs
On the VCD portal, public catalogs provide ready-to-deploy vApp templates. These vApps contain a single VM on which an operating system and/or middleware is already installed and preconfigured. These different catalogs are presented below:
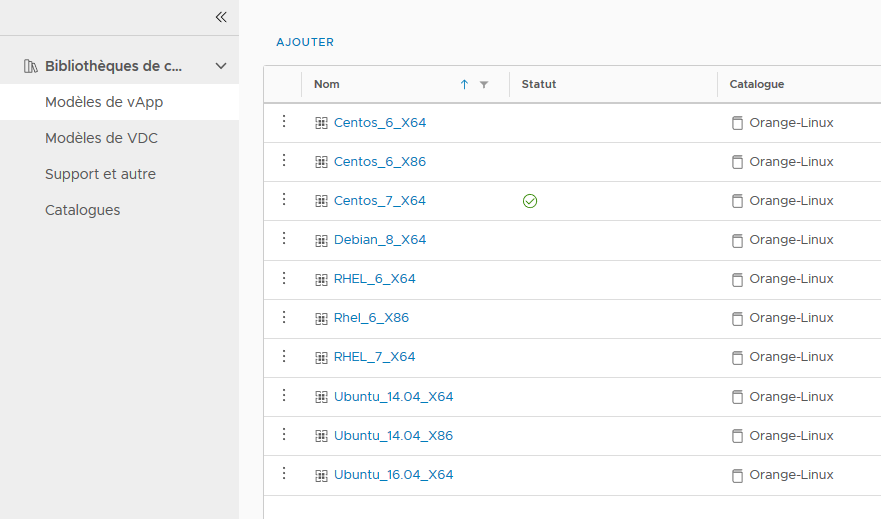
Orange-Linux
Contains pre-installed VMs with the most commonly supported Linux distributions (Debian, Redhat, CentOS, Ubuntu).
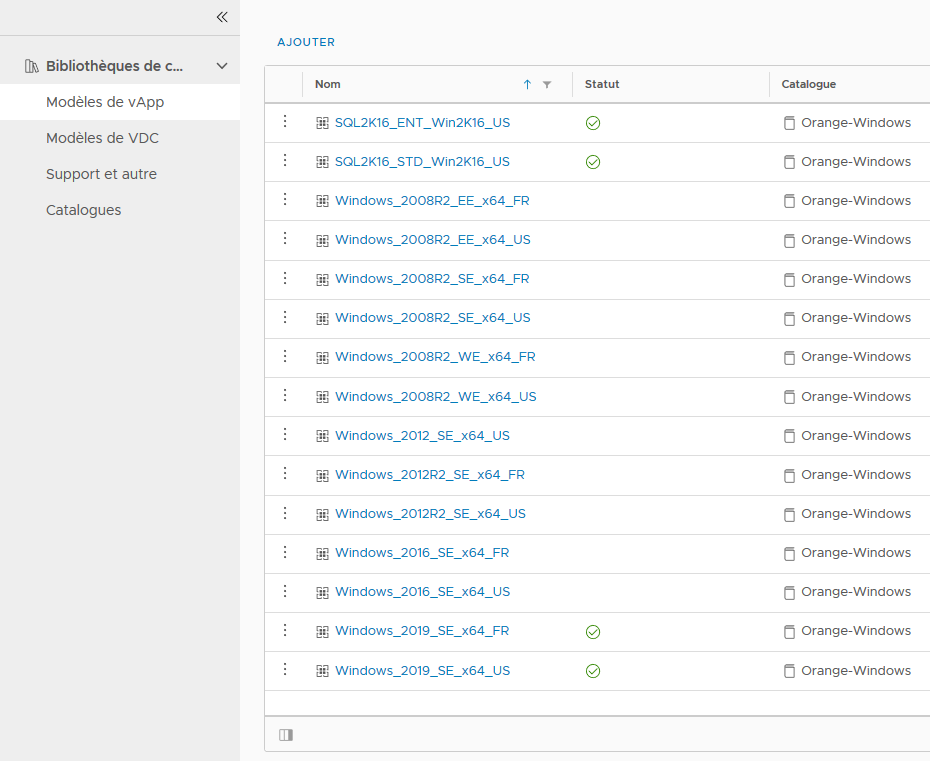
Orange-Windows
This catalog contains VMs preinstalled with the most common supported Windows distributions, Microsoft software installation ISOs, such as SQL Server.
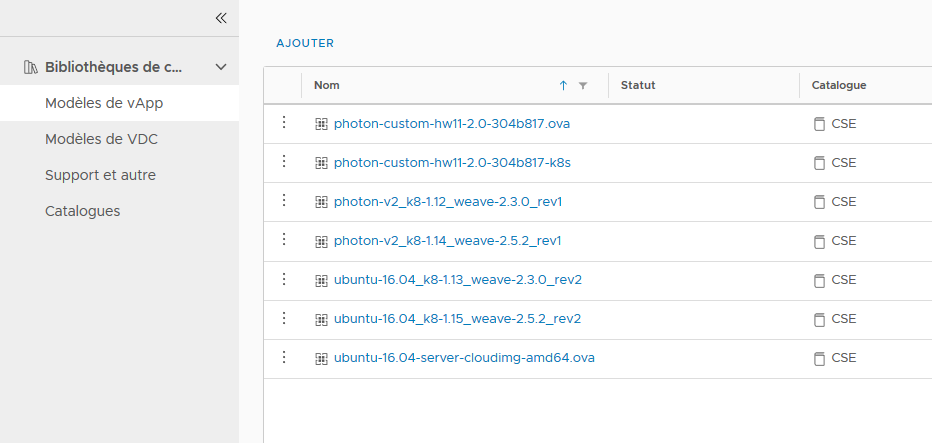
CSE
This catalog contains VMs preinstalled with container management software; they are used to deploy a Kubernetes cluster.
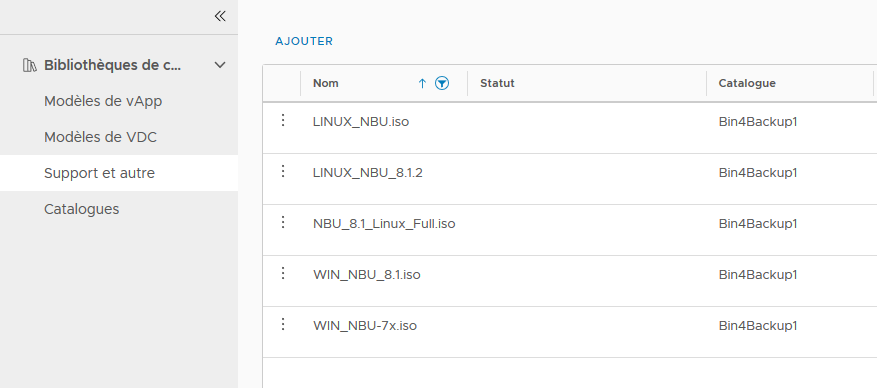
Bin4Backup1
This catalog contains the NetBackup agent installation ISOs.
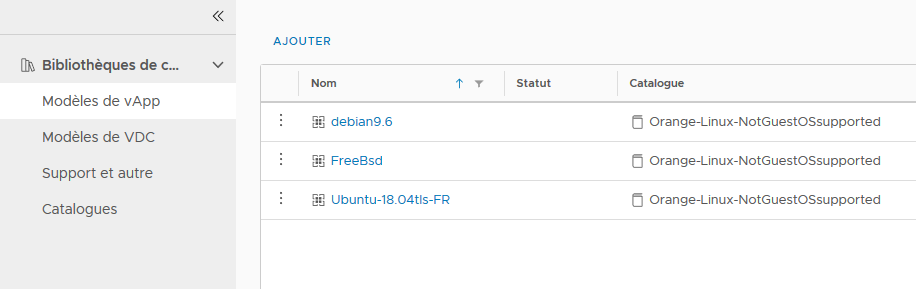
Orange-Linux-NotGuestOSsupported
VMs pre-installed with unsupported Linux distributions, either because they are not yet supported or because they are no longer supported, due to compatibility with the Cloud Avenue platform.
Note: As catalogs are regularly updated, the images shown here may not necessarily reflect reality.
Private catalogs
Each customer can manage their own catalogs.
Please note !
Storing these catalogs consumes the storage class available in the first vDC in the order of the list displayed by vCloud Director. Uploading via the Portal is functional for small VMs (<50GB).
For larger VMs, an FTPS server is available. In this case, please contact support for more information (@IP/credentials).
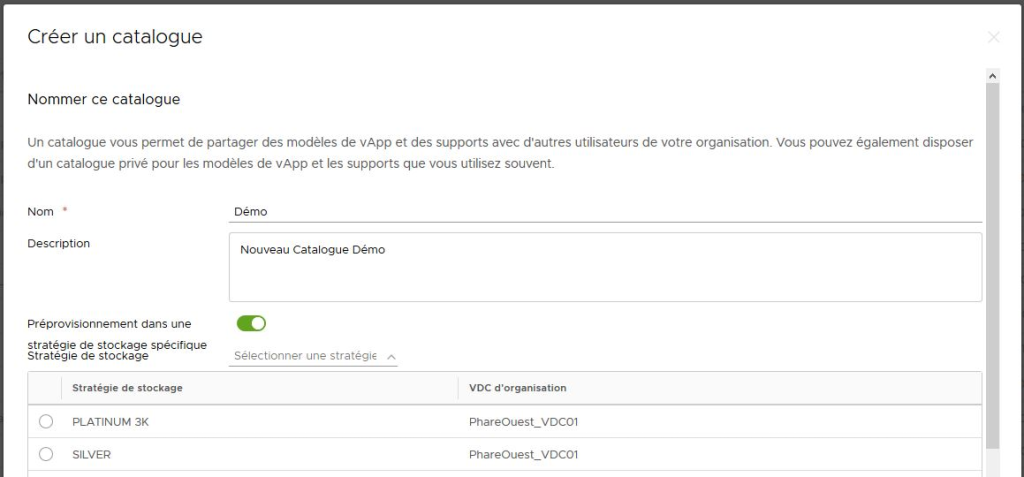
Create your own catalog
Go to Libraries\Catalogs\NEW
- Define a Name and Description
- Enable the Preprovisioning option in a specific storage strategy if you want to deploy to a specific STK in your oVDC.
Click OK to confirm creation
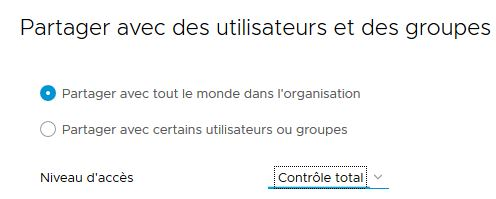
Then share your Catalog with other members of the organization.
- From Catalog Properties
- Select Share, then +ADD
- Select the sharing option and access level (Read Only\Full Control\Modify)
- Select OK, then SAVE.

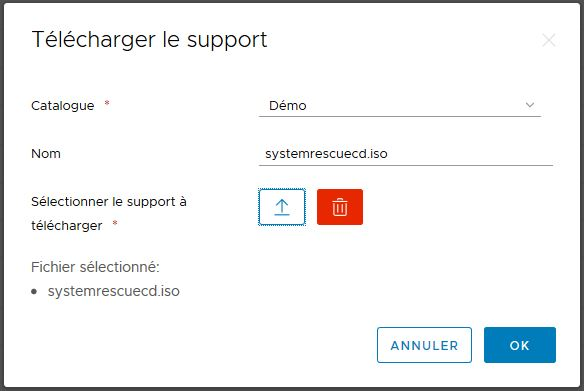
Add an Image File (.ISO)
Go to Media and Other, then click ADD.
Select the Catalog, then the file to upload.
Click OK.
A task will inform you about the import in progress.

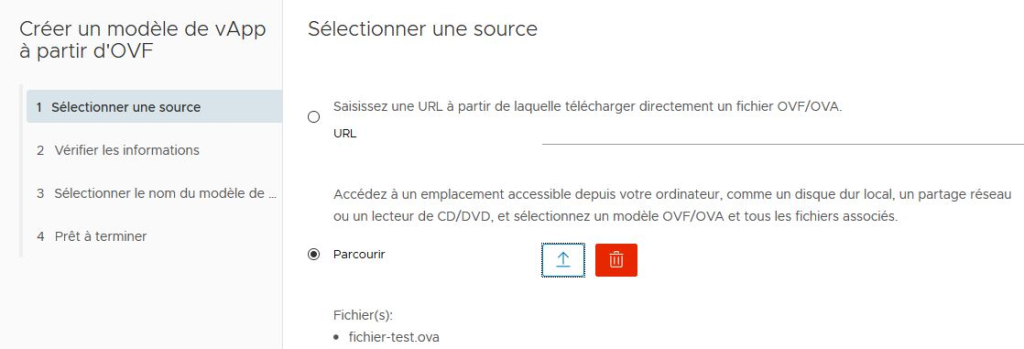
Add a VM template (.OVA)
Go to vApp Templates and click ADD.
Select the Catalog, then the file to upload, and click NEXT.
Click NEXT at the Verification stage, then enter:
- the Template Name
- the Catalog Name
Click NEXT
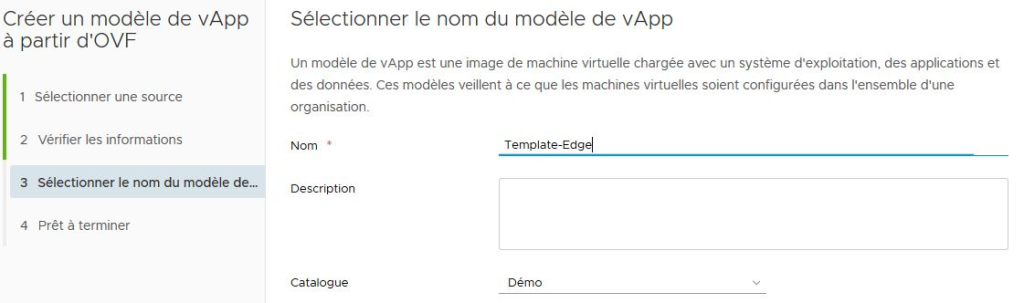
Valider les informations et faire TERMINER.
Une tâche vous informe sur l’import en cours.

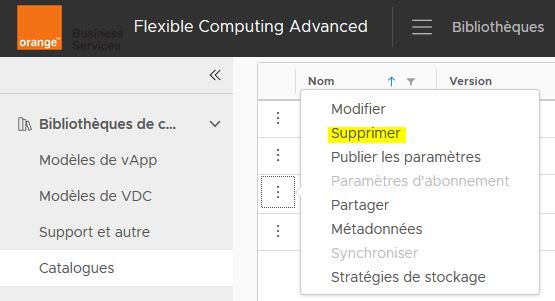
Delete a Catalog

Warning !
If you want to delete a catalog, you must first delete the vApp templates and media from the Catalog.
Go to Libraries, then Catalogs.
From Properties, select Delete and confirm.
A task will inform you that the deletion is in progress.