Step 6 – Creation of an Elastic Cloud Server
This step 6 will deploy a virtual machine. The name in Flexible Engine is Elastic Cloud Server (ECS).
We want to deploy our web server. To do this go to the main menu and click on Elastic Cloud Server.
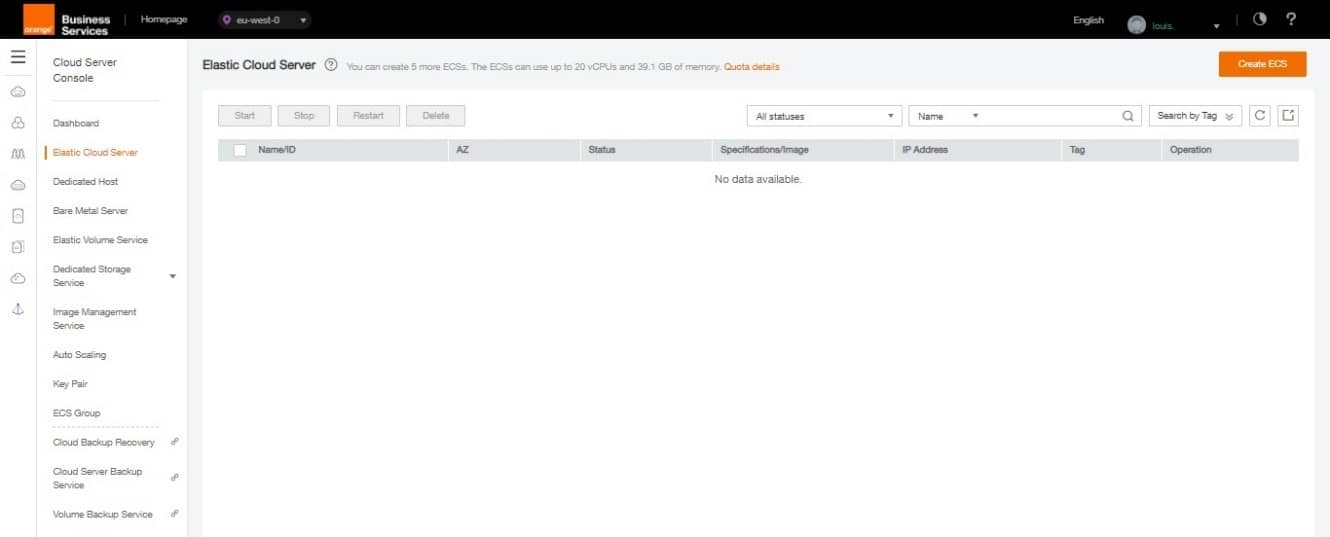
Click on Create ECS to configure your ECS, a number of parameters must be filled in.
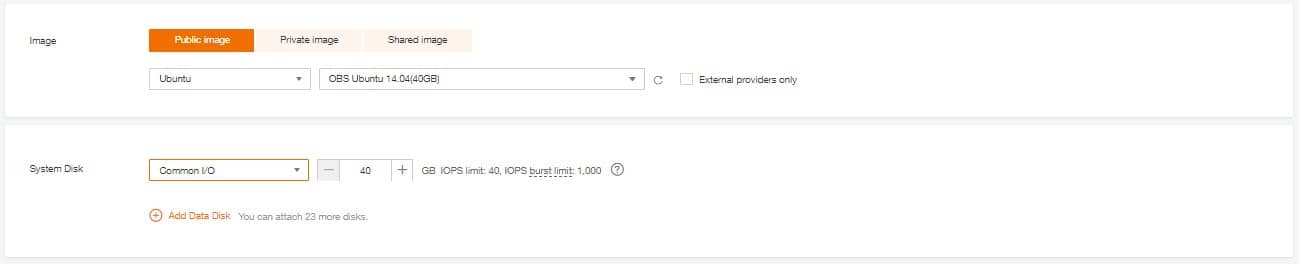
Basic Information
- AZ : always the same
- ECS Type / vCPU /Memory Choose the number of vCPUs and RAM according to the intended use. Here the use is simple so General-purpose 1 vCPUs and 2 GB
- Image Type / Image : Public image – Ubuntu. You can choose from the public images or import your own, which you will find in Private Image
- Disk : Common I/O 40Gb (you can choose the size, the access speed and the number of disk
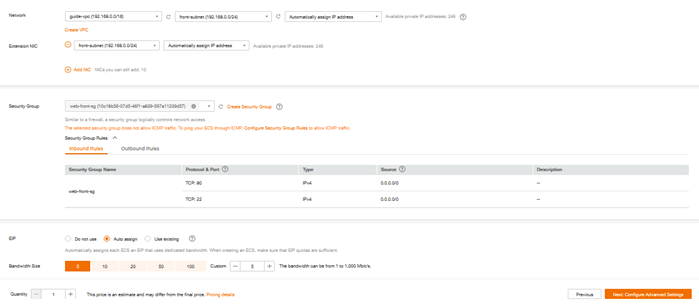
Network
- VPC : guide-vpc (created in step 3)
- Security Group : web-front-sg (created in step 4)
- NIC: connect network card to front-subnet (created in step 3). You can add several network cards to your ECS
- EIP : automatically Assign and choose a bandwidth of This adds an Elastic IP (EIP) to the ECS to allow it to access and be accessed from the internet. This is our goal with a web server.
Advance settings
- ECS Name : guide-web-ecs
- Login mode : Key Pair
- Key pair : select the Key Pair created in step 2
Quantity : 1 (can create several machines with the same parameters)
Click on Create Now


After the validation of the first screen, you have the summary screen with the Previous and Submit buttons. By validating Submit, you arrive at the transition screen before being returned to the main ECS screen. It is possible that your ECS is already functional :
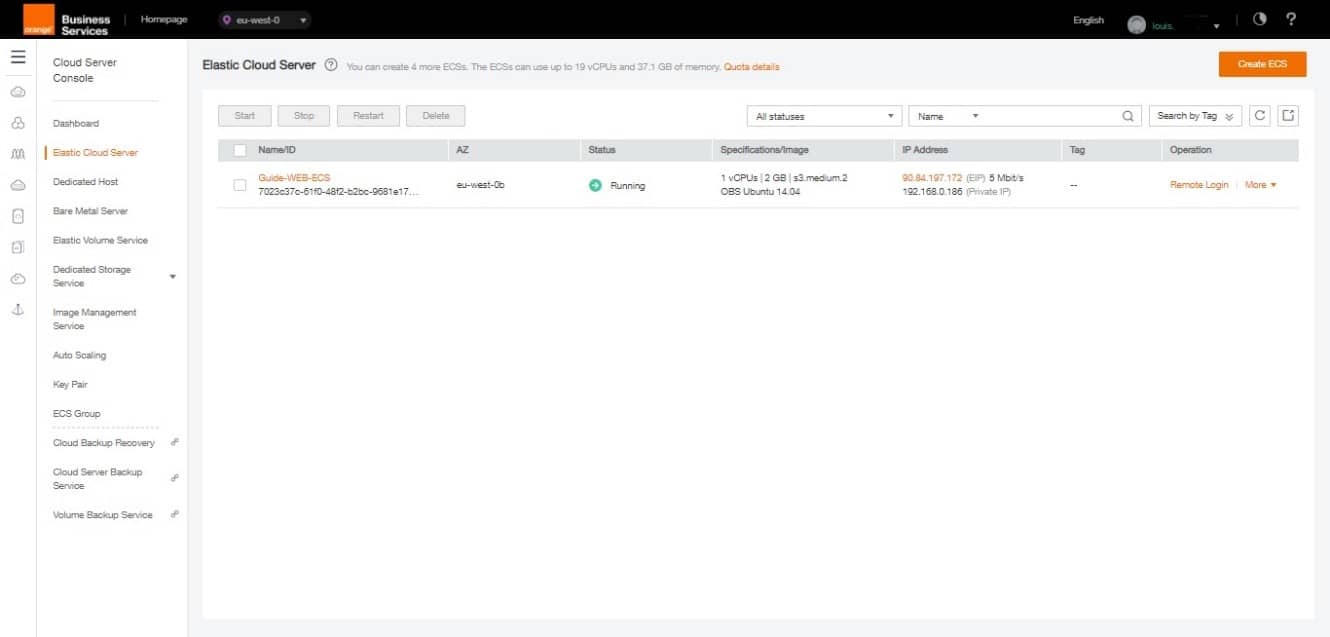
Note the information in the EIP column (in our example: 90.84.197.172). This is your public IP, it will allow you to access your machine and the web server later.