Step 3 : Network creation – Virtual Private Cloud (VPC) and Subnet
In this third step, we will create the network infrastructure in order to connect the future machines.
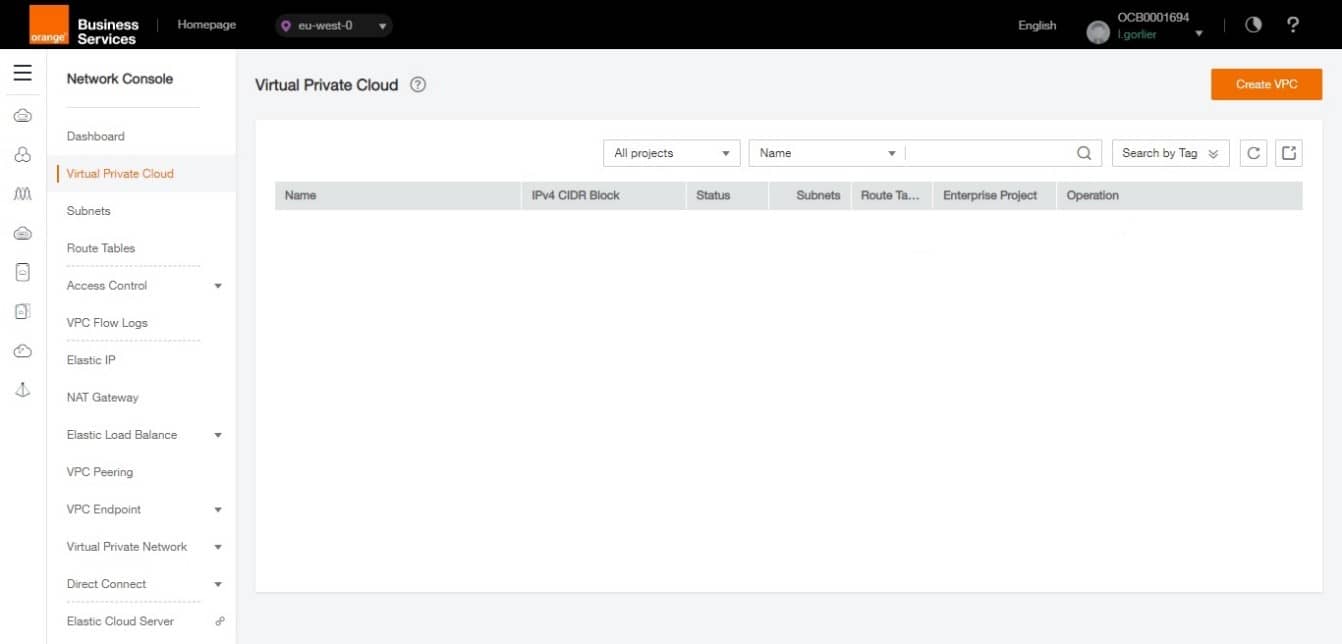
Go to Virtual Private Cloud (VPC), and click on Create VPC.
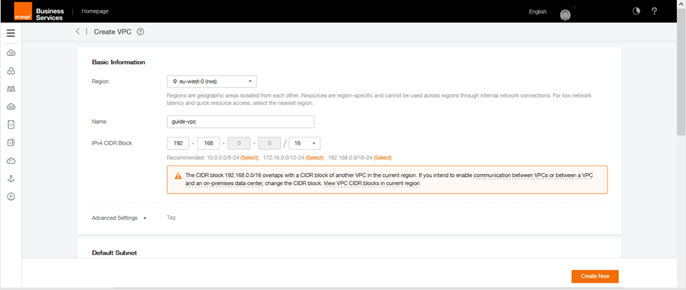
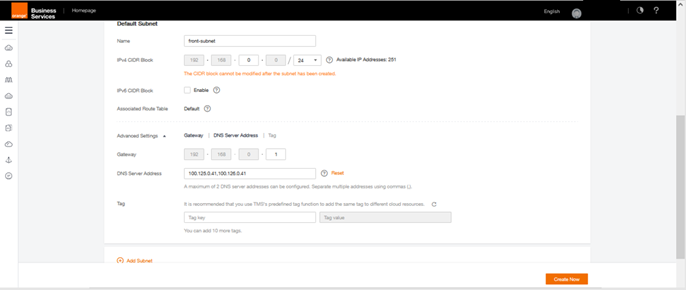
A new tab will open to fill in the VPC information. A VPC is an isolated virtual private network that you can configure as you wish. A VPC has an IP range that it shares between its subnets. VPCs are not linked to each other, so they can have identical addressing schemes. When the VPC is created, it is also asked to create the first subnet. We will indicate this information for our VPC and subnet creation.
- Name (VPC) : guide-vpc
- VPC CIDR : 168.0.0 /16
- Name : front-subnet
- CIDR : 168.0.0 /24
- Gateway : 168.0.1
- DHCP : Enabled
You are redirected to the page listing all your VPCs. By clicking on the VPC “guide-vpc” you will be able to consult the information related to it.
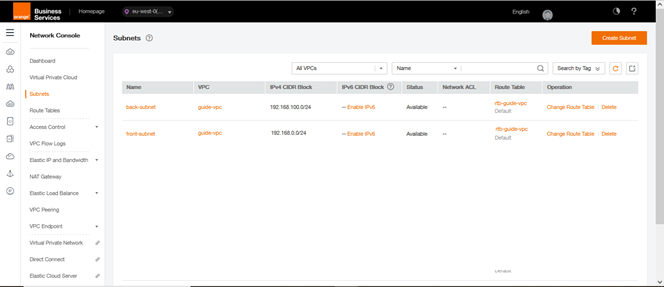
The Subnet category allows you to access the table of active subnets
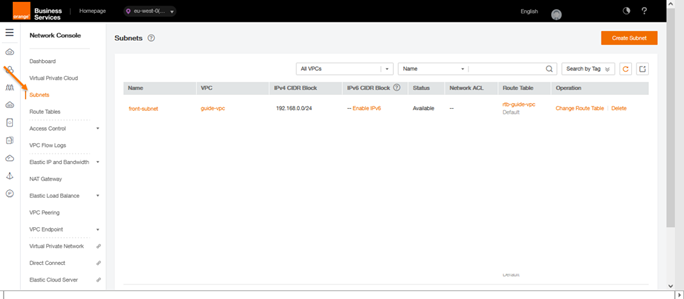
We are going to create the second subnet by click on Create Subnet.
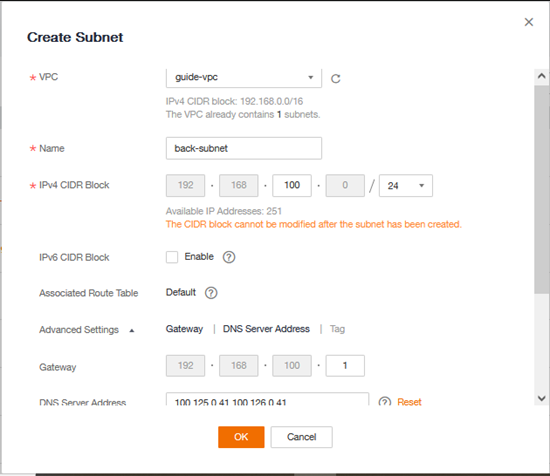
The second subnet will be for the back network:
- Name : back-subnet
- CIDR : 168.100.0 /24
- Gateway : 168.100.1
- DHCP : Enable
Click on OK to validate
After validation, the list will display the 2 subnets of your VPC:
