Step 2 – Deploying the web server
For this step, you will create a virtual server that will host the Apache web server. The web server will be exposed on the Internet and is therefore associated with a public IP address (Elastic IP – EIP).
This ECS will be created within the previously created VPC web-vpc. To start, make sure you have a KeyPair, which we will name KeyPair-webKeyPair in the rest of this document.
For more information on the key creating process, consult the Beginner Guide
From the console, click Elastic Cloud Server, and then Create ECS and complete the following information:
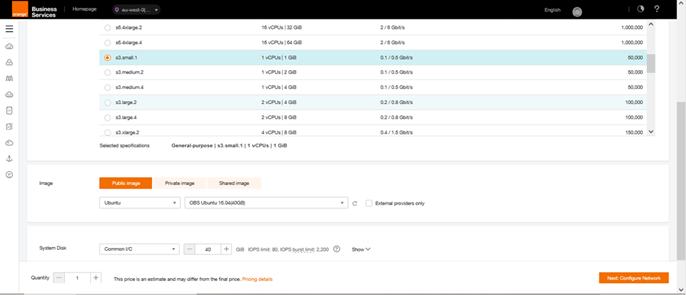
Basic Information
- AZ: eu-west-0a
- ECS Type: General-purpose
- Flavor: small.1 (1vCPU, 1GB)
- Image Type: Public Image
- Image: Ubuntu, OBS_U_Ubuntu_16.04(40GB)
- Disk: System Disk, Common I/O 40GB
- Data Disk: Common I/O 50GB
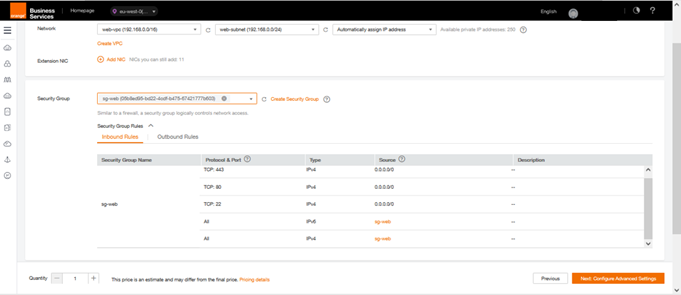
Network
- VPC: web-vpc
- Security Group: choose sg-web and deactivate default
- NIC: web-subnet(192.168.0.0./24)
- EIP: Automatically Assign
- Bandwidth: 1000Mbit/s
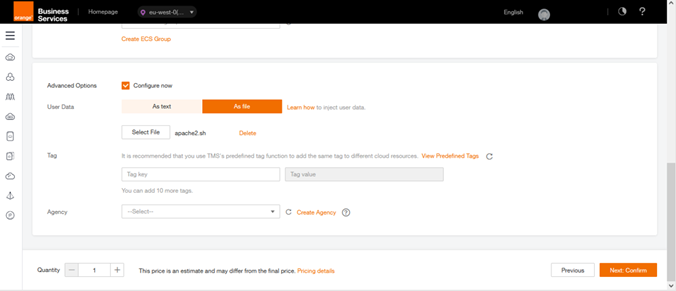
Advanced Settings
- ECS Name: ecs-web
- Key Pair: KeyPair-webKeyPaiR.
- Data Injection as File
- Select File : Apache2.sh ( in Appendix)
Quantity
- Quantity: 1
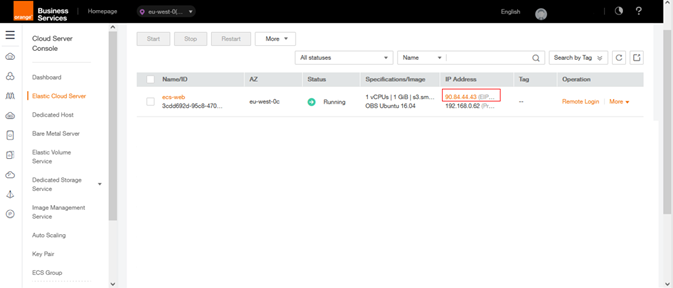
Click on Create Now, and then on the button Submit to confirm the creation of ECS.
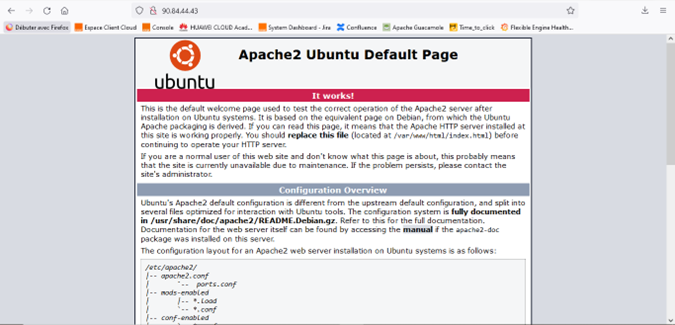
To verify that your web server is up and running, enter the URL http: // <EIP> / in a web browser, replacing <EIP> with the ecs-web Elastic IP, visible in the EIP column in the ECS list. You must get the page “Apache2 Ubuntu Default Page”.